Model photography is the most common answer. But for most small jewelry brands and independent sellers, a full shoot requires renting a studio, hiring a photographer, finding models, and paying for retouching. This may cost anything from a few hundred to a few thousand dollars for one campaign. Plus, it's nearly tough to keep up if you add new listings every month. You may shoot once a year and then spend the rest of the time wishing you had more shots of the model.
AI jewelry model generators have become available in the previous few years. You don't have to design a whole production; you just upload pictures of your own jewelry and put them on realistic AI models of hands, necks, ears, and wrists. The jewelry is authentic. The model has been created. It's so easy. The result is a collection of photos that seem like they were taken in a studio, even if you didn't.
This post will show you how to do it step by step. We'll talk about what pictures you need to capture, how to deal with different parts of the body (fingers and hands for rings, neck and collarbone for necklaces, ears for earrings, wrists for bracelets), and the most typical problems that make AI photographs appear fake: jewelry that floats, improper proportions, and weird shadows. Lastly, you'll learn how to use these AI jewelry model photographs in your shop and on marketplaces so that they really get clicks and sales.
What Is an AI Jewelry Model (and What It’s Not)
When we talk about an “AI jewelry model” in this guide, we’re not talking about random AI art. We mean something very specific:
An AI jewelry model is a picture of a model wearing your genuine jewelry that was made or improved by AI, based on real pictures of your products.
You begin with pictures of your own rings, necklaces, earrings, or bracelets. The AI technology then puts your real jewelry on a computer model, such a hand, neck, ear, wrist, or entire portrait, to make it appear like a real on-model photo. The jewelry is real; it's your product, but it's exhibited on a virtual model.
In pure "AI-generated jewelry art," the system makes a ring that doesn't exist. You can use that sort of picture for concept design, but you can't put it on a product page and ship it out right away. We are just talking about genuine jewelry and AI models in this post, not imaginary items.
Step‑by‑Step – From Flat Lay to AI Jewelry Model
The idea is simple: use the flat product photos you currently have to make AI jewelry model pictures that seem real. The steps are virtually always the same:
Pick the proper product photo
Pick the right AI hand model to use as a template for jewelry, a neck, an ear, or a wrist.
Using the upload and placement options in your tool, put jewelry on the AI model.
Make tiny changes such that the component seems like it genuinely touches flesh.
Export a group of pictures that you may use on product listing, in advertisements, and on marketplaces.
Let's look at each body part separately, because the things that make a ring appear real are not the same as the things that make a necklace or pair of earrings look real.
Rings on AI Hand Models (Fingers & Hand Shots)
Most individuals start with rings. If you're not careful, "fake" pictures also show up there the fastest. The good news is that you can use a solid AI hand model for jewelry over and over again for many different SKUs.
Step 1: Pick the suitable picture of the ring
Choose a picture where:
You can easily see the ring from the front or a minor 3/4 angle.
The stone and band seem really clear.
The background should be basic, solid best.
Choose a photo that is shot straight on if you want to put the ring on a straight finger. If your AI tool employs more tilted hand postures, choose a product shot that has a comparable angle so that the ring seems more natural when you add it to the AI model.
Step 2: Choose a template for your hand or fingers
Pick a hand template that fits your ring's style. This helps you see how the ring will look when worn. For a delicate vintage ring, choose the slender, elegant hand template. For a bold, modern band, the strong, minimalist hand template might be a better match.
Step 3: Upload the ring photo and adjust the positioning
This is where most pictures either seem real or fake:
It should look like the ring wraps around the finger, not like a sticker on top of it.
You should be able to see part of the band behind your finger.
The inside curvature of the band should fit the shape of the finger.
If the tool lets you, give the ring a little push so it "cuts into" the finger. That overlap is what makes the brain think it's genuine from a 2D point of view.
Step 4: Export in different styles and angles
For each ring, try to get at least:
1 close-up of the hero's hand, straight on
1 side view that illustrates the thickness and shape of the band
1 picture of a lifestyle, such a hand on a coffee cup, book, steering wheel, etc.
Most of what consumers want to see is covered by these three: style, fit, and everyday use. You can get through 10 to 20 rings in one afternoon once you get into a groove.
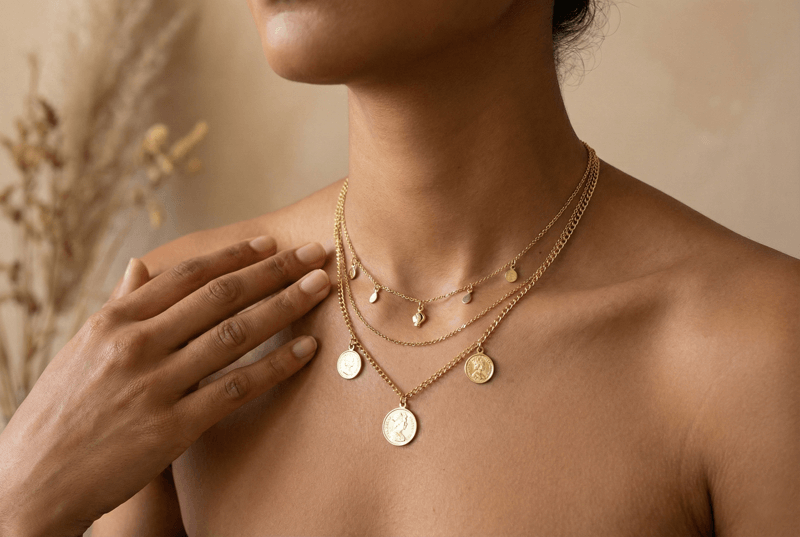
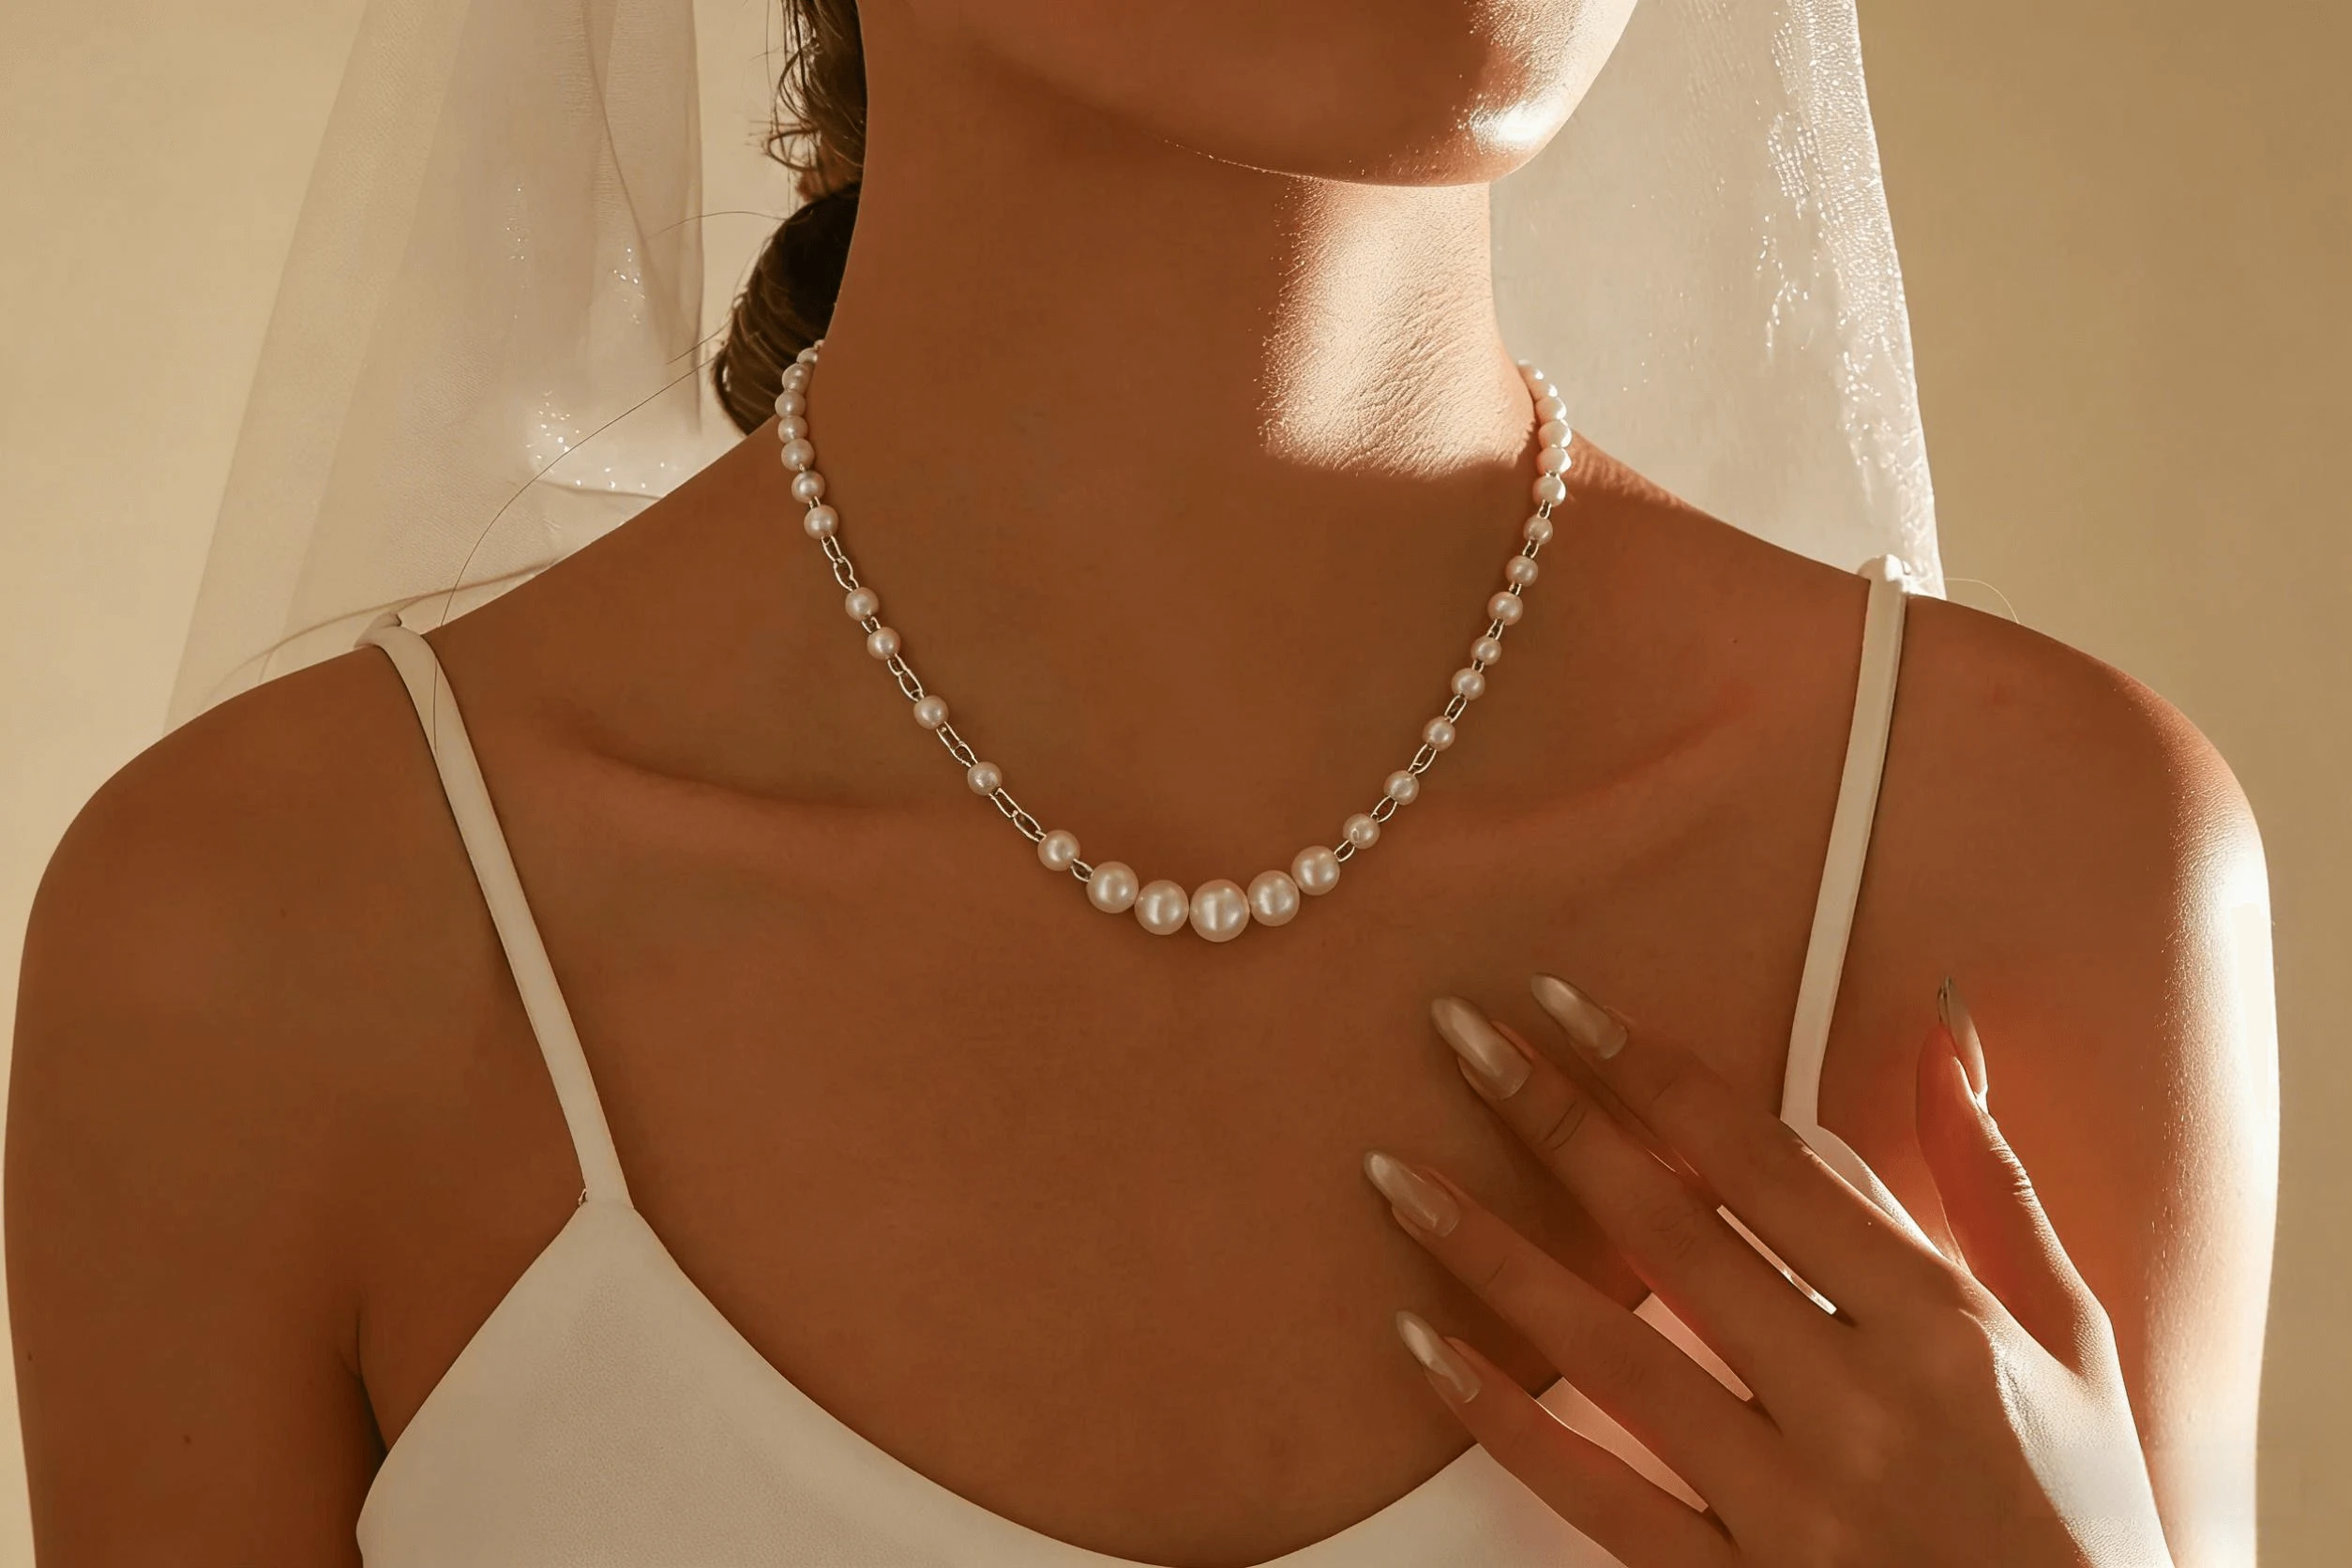
Necklaces on AI Neck Models (Neck & Collarbone)
Necklaces are more responsive to body shape. A decent AI necklace model makes it look like the necklace is laying organically on the skin.
Step 1: Pick a neck template with clear neck and collarbone
Search for templates that have:
You can see the neck plainly.
The collarbones make a soft V or bend.
The chain route isn't blocked by clothes.
Tips: Don't wear thick collars, huge scarves, or hair that covers your neck.x
Step 2: Upload a picture of the necklace and pick the right spot.
When you put a necklace on the AI model, watch for these two things:
The chain should fit the shape of the collarbone and neck.
The chain and skin shouldn't be too far apart.
If your first result shows a gap, reset your settings or use phrases like "necklace resting on the skin, no gap, following the curve of the collarbone and neck."
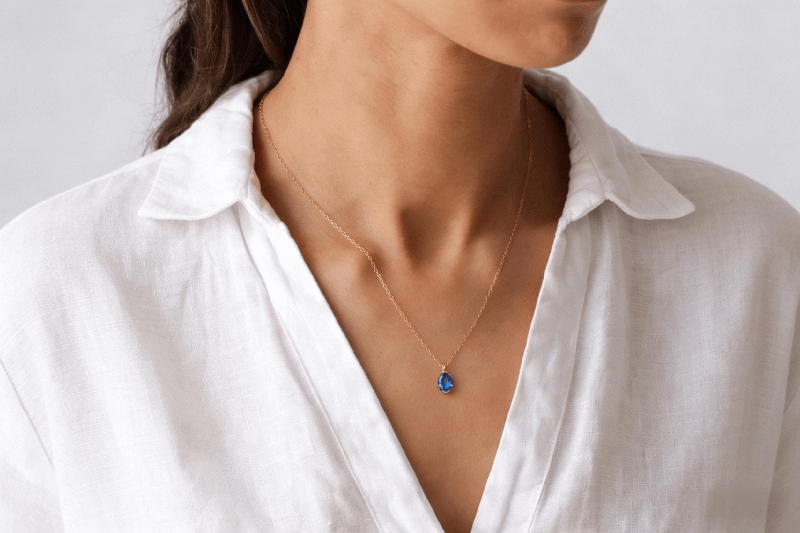
Step 3: Put the pendant in a place that seems authentic
For most things you use every day:
Short chains: the pendant hangs close to the neck's base.
Medium chains: the pendant sits at the top of the chest.
Long chains: the pendant can hang closer to the sternum.
Earrings on AI Ear Models (Close‑Ups)
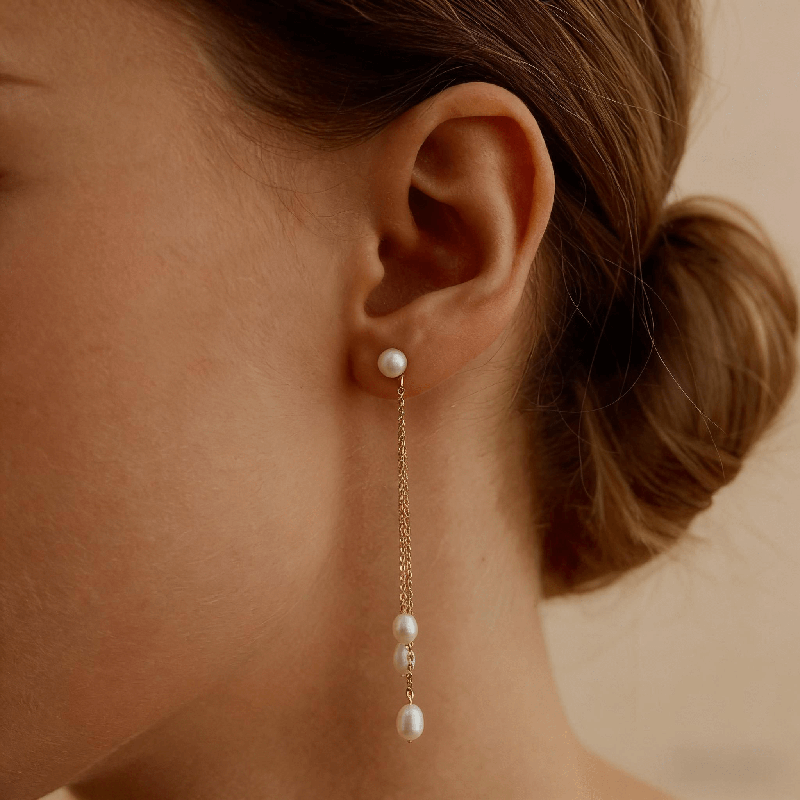
Earrings have their own universe.
Step 1: Use a specific ear close-up template.
Select templates that:
Show one ear plainly, with the hair pushed back or tucked behind it.
Have clear lighting with minimum shadows.
Do not crop severely at the jawline.
For optimal results, use a basic side-profile or 3/4 close-up. You want enough area to display the earring, as well as some cheek and hair for background.
Step 2: Put the earring at the correct position.
When placing the earring:
The metal post or hook should join at the earlobe or piercing, rather than floating in front of the ear.
For studs, the base should practically "sink into" the lobe, casting a faint shadow beneath.
For dangling styles, the hook should be somewhat beyond the lobe, with the drop hanging straight or naturally inclined.
Step 3: Consider symmetry and variation.
For product sites, two kinds of photos perform effectively.
A close-up of a single ear reveals detail.
A larger crop displaying both ears or more of the face for context.
You don't necessarily need both ears in the same photo, but if you offer standout pieces, a symmetrical approach helps customers envision balance and scale.
Step 4: Crop for Product Pages and Social
Once you've created your base AI earrings on model images:
Make a tight trim around the ear and jawline for PDP detail shots.
Create a little broader version (ear, eye, and part of the cheek) for social postings and adverts.
These variants allow you to use the same basic generation in numerous positions without the photos becoming monotonous.
Bracelets and Bangles on Wrists
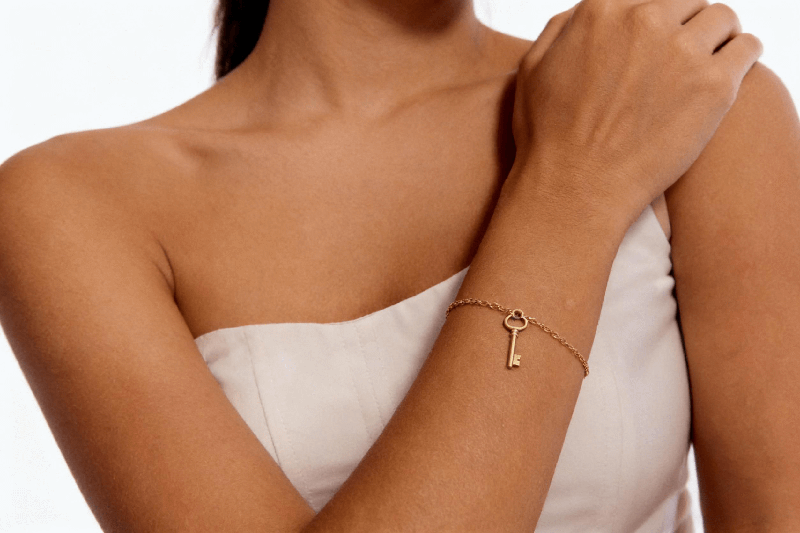
Bracelets and bangles are a natural extension of your ring workflow. Once you’re comfortable with hand templates, you can quickly create bracelet photoshoots on models using the same or similar poses.
Step 1: Pick a wrist template with a clear side view
For ai bracelet images: Choose a template where the wrist is visible from the side or 3/4 angle
Make sure the forearm and part of the hand are in frame
Avoid sleeves that fully cover the wrist—rolled cuffs or short sleeves work best
The more straight the wrist is, the easier it is for the AI to wrap the bracelet naturally.
Step 2: Place the bracelet at correct position
When you place the bracelet:
It should wrap around the wrist, with part of it slightly hidden on the far side
The bracelet shouldn’t look like a flat sticker printed on skin
For bangles, emphasize a gentle gap between the metal and skin, but still following the wrist’s curve
Step 3: Use bracelets in styling and bundle shots
Bracelet images are perfect for:
Detail photos that show texture and clasp design
Styling shots with rings + bracelets on the same hand
Bundle images where several thin bangles create a stack
Prompting and Controls for Accurate Placement.
Getting decent outcomes with AI jewelry models requires both a tool and proper phrasing. In general, your AI jewelry prompts should express three things extremely clearly:
Where is the jewelry on the body?
How it touches the flesh and follows the body's curvature.
How the lighting and shadows should look
Here are several prompt snippets that serve nicely as construction blocks:
For necklaces:
"necklace resting naturally on the collarbone, chain touching the skin with soft shadows, following the curve of the neck, no gap"
For rings:
"ring snug on the finger, part of the band hidden behind the finger, realistic contact points with the skin, no floating"
For the earrings:
"earrings attached to the earlobe, correct perspective, no floating, matching shadows on the skin, natural light"
You may reuse these words by just adjusting the metal, gemstones, or style, for example,
"delicate gold necklace resting on the collarbone, chain touching the skin, soft studio lighting, no gap"
"silver engagement ring snug on the ring finger, band partly hidden behind the finger, realistic shadows"
Here are few strategies that reliably boost placement:
Say what you don’t want.
Include terms such as "no floating," "no gap between jewelry and skin," and "no chain distortion" as appropriate.
Using phrases like "following the curve of the neck," "wrapped around the wrist," and "aligned with the finger" can effectively describe the body's curvature.
Match the lighting.
If you're combining with an existing image, specify "match original lighting and shadows" or "same light direction as original photo".
Integrate prompts with control points or masks.
If your tool supports control points, masks, or regions, combine them with text:
Mark where the ring should sit.
Draw a rough line where the chain should be.
Mask the places where jewelry should not visible.
The text instructs the AI what to do, while the controls direct it where to do it. Together, they yield far more consistent outcomes than prompts alone.
Fixing Common Problems (Floating, Scaling, and Shadows)
Even with appropriate prompt , you may occasionally receive "a bit off" results. Most terrible "add jewelry to ai model" results fall into three categories: floating jewelry, incorrect scale, and unnatural shadows. Once you know what to look for, they're simple to identify and repair.
Floating jewelry (a noticeable gap between jewelry and skin)
What it looks like
The necklace hangs only a few millimeters over the neck.
The ring lies on top of the finger, rather than wrapping around it.
The earring floats in front of the ear and is not truly linked to the lobe.
Why does it happen?
The body template angle does not match your product photo.
The tool does not completely recognize the skin contour in that stance.
The prompt does not require touch with the skin.
How to Fix It
Switch to a template with a closer angle to your original product image.
Include sentences such as:
"resting on the skin, no gap"
"touching the skin, natural contact"
Regenerate a few times or try a slightly different model if your tool has several engines.
If you're using control points, move the jewelry slightly into the body outline, resulting in a little overlap. That overlap indicates actual touch.
Wrong scale (parts are too little or too large).
Typical indications.
A striking necklace seems thin and delicate.
A thick ring resembles a minimalist band.
Earrings are so enormous that they practically touch the shoulder, even if the actual item is little.
How to Fix It
Use the tool's scale slider to make the jewelry somewhat larger or smaller.
Keep the real-world size in mind.
Compare the piece with neighboring face features (nose, lips, eyes).
Rings and bracelets can be compared to the thickness of the fingers and wrists
If you are unclear, consult your product specifications when modifying. A 6 mm ring should not resemble a 2 mm sliver on the model's finger.
How to Fix Common Problems Like Floating, Scale, and Shadows
You could still receive results that appear "a bit off" even with good instructions. Most of the time, poor "add jewelry to ai model" outputs fall into three categories: jewelry that floats, jewelry that is the incorrect size, and shadows that don't seem natural. Once you know what to look for, it's easy to find and correct them.
Jewelry that floats (there is a space between the jewelry and the skin)
What it looks like
The necklace hangs a few millimeters over the neck.
The ring goes over the finger instead of around it.
The earring doesn't touch the lobe; it floats in front of the ear.
What causes it
The angle of the body template doesn't match the picture of your product.
The tool doesn't entirely get the shape of the skin at that position.
The prompt doesn't require skin touch.
What to do to repair it
Change to a template that is closer to the angle of your original product shot.
Put in terms like:
"no gap, resting on the skin"
"touching the skin, natural contact"
If your tool has more than one engine, try regenerating a few times or using a slightly different model.
If you're using control points, move the jewelry a little bit inside the body contour so that it overlaps a little. That overlap seems like genuine contact.
Wrong size (parts are either little or too huge)
Typical symptoms
A showy necklace appears thin and weak.
A big ring seems like a simple band.
The genuine item is little, but the earrings are so huge they almost touch the shoulder.
How to make it right
Use the scale slider on the tool to make the jewelry a little bigger or smaller.
Keep in mind the scale of the real world:
Look at the item in relation to the nose, mouth, and eyes that are close by.
Look at the thickness of your fingers and wrists to see how thick your rings and bracelets are.
If you're not sure, look at the specs of your product while you make changes. The model's finger shouldn't appear like it has a 2 mm sliver on it.
Making two or three versions of something in slightly various sizes and picking the one that "feels right" at first look can assist.
How to Use AI Jewelry Model Photos in Your Store

Once you have a good collection of AI jewelry model pictures, the next issue is: where do they have the biggest effect? When used correctly, on-model images help customers quickly figure out size, fit, and vibe.
Pages with information on the product
On product pages, think in terms of a simple structure:
Main picture:
Product photo with a clean white background
Images that help:
1–2 pictures of the AI model with the item on their hand, neck, ear, or wrist
Optional extra lifestyle image for hero pieces
The product shot handles clarity. The jewelry on model ai images answer the questions: “How big is it?”, “Where does it sit?”, “What does it look like on a real person?”
Hero banners and collection pages
Category and collection pages are where you build brand feel instead of just listing items.
Use a series of AI jewelry model pictures that are always the same as hero banners for all collections.
Keep skin tones, lighting and backgrounds coherent so the whole page feels designed, not random
Show full looks: necklaces, rings and earrings together on the same model when possible
Even two or three good banners can make a collection page feel like a curated boutique instead of a raw catalog.
Marketplaces (Amazon, Etsy, Shopify and others)
Each platform has its own rules about what’s allowed in main images and secondary images:
Amazon often insists on a white‑background product as the primary image
Etsy and Shopify are more flexible, but still benefit from a clear main shot
You can:
Keep a compliant white‑background image as your first photo
Add AI jewelry model photos as secondary images, especially to show scale and wear
Use softer, lifestyle‑style generations in gallery slots where allowed
Always double‑check updated guidelines, but in general, as long as your AI model photos are clear, honest and not misleading, they’re a strong addition rather than a risk.
Ads and social media
AI model images are perfect raw material for performance creatives:
Ads:
Before/after layouts (flat shot vs on‑model shot)
Close‑up crops for carousels or story ads
Instagram / Pinterest / TikTok:
Lifestyle scenes built from AI jewelry models
Soft product mentions in posts that focus on outfits or styling
Short AI‑enhanced video loops that highlight sparkle and motion
Because AI lets you generate different looks quickly, you can test multiple aesthetics—minimal, bridal, bold, streetwear—and see which ones actually convert before committing to expensive real‑world shoots.
FAQ: AI Models Wearing Your Jewelry
Can customers know that these are AI models?
Most people who shop don't zoom in to see if a model is AI or human. They pay attention to whether the jewelry appears true, including if it fits right, feels right on the skin, and has believable lighting. If you stay away from the common faults like floating components, fake skin, and severe filters, well-made AI jewelry model photographs will just seem like "good product photography."
Can you use AI jewelry model photographs on marketplaces?
Marketplaces care more about being clear and honest than about how things are made. In real life:
When necessary, include a clear picture of the product as your main shot.
Make sure that the size, color, and appearance of your AI on-model photographs are correct.
Don't include things that might confuse customers, such phony logos or made-up stones.
Most sites accept AI-assisted photos the same as studio shots as long as the pictures reflect your genuine jewels in a fair way.
Do I still need to take genuine pictures?
For a lot of brands, the response is "less often, but still yes." AI jewelry models are great for:
Filling up the holes in your catalog
Trying out new designs and layouts
Keeping the same look and feel when you launch new items
For hero campaigns, you may do a few actual photos each year and employ AI jewelry model generators for everyday catalog work. How much you can spend and how editorial your brand needs to seem will affect the balance.
How many AI model pictures should I make for each product?
A basic baseline works well for most products:
1 main picture of the product
1–2 images of AI jewelry models from different perspectives or body sections
You might want to take 3 to 5 photographs of the model wearing the hero goods and more expensive things. These images should include both close-ups and broader crops. The idea is to address all of a buyer's visual queries without making them feel like they have too much information.
Is it possible to use the same AI model for all of my catalog?
Yes, and it may even make your brand feel more constant. A lot of merchants choose:
1–2 "main models" for their primary collections
More options for certain lines, including wedding, minimal, bold, etc.
You may use the same face or body type across dozens of SKUs as long as the AI jewelry model generator can handle diverse skin tones and postures. You can also minimize duplication by changing the perspectives, cropping, and clothes.
Conclusion: Make Flat Jewelry Photos Look Like On-Model Pictures at Scale
It's easy to take flat product images, but they don't always show the complete story. On-model shots do, but until recently, you had to go to studios, hire teams, and wait a long time to acquire them.
AI jewelry model generators vary the rules.
Try Free AI Jewelry Model Generator
You can do the following with the appropriate prompts and some care:
Replace a lot of picture shoots with a browser-based process to save money.
Speed up the process of turning fresh concepts into on-model photographs from weeks to hours.
Show greater variety by having consumers of diverse ages, skin tones, and styles.
This isn't just a one-time trick, which is the most crucial thing. You can do this procedure over and over again every time you add a new item or update your catalog: upload the product photo, choose the model surface, fine-tune the placement, export, and publish.
Start small if you're still simply using flat graphics. Choose a few goods and make a few AI jewelry model shots for each one. Then, see how those pages do compared to your old arrangement. You can tell if it's working by looking at the click-through and add-to-cart rates.
When you're ready to go deeper, check into tools that are made only for this purpose: platforms whose only job is to place your genuine jewelry on AI models in a way that appears natural and sells.